How To Install 12V Landscape Lighting?
Landscape lighting is a way to improve the exterior environment of the house. If your kids like to play and enjoy outside at night, you can install 12V landscape lighting to enhance outdoor visibility and spend quality time with your family.
Low-voltage lighting is a reliable solution that reduces electrical risks. Moreover, it requires less maintenance as compared to the line voltage lighting.
What Is 12V Landscape Lighting?
Mostly, the homeowners prefer to install 12V landscape lighting to illuminate pathways, gardens, patios, or the area around the yard. Because working with low-voltage lighting, such as 12V or 24V, is easy and safe.
12V landscape lights are designed to operate on a low voltage, requiring a transformer that reduces the voltage from 120V to 12V. They consume less power than regular bulbs and have a longer lifespan. That means you don’t require maintenance over time. Furthermore, you can enjoy many other advantages over the line voltage. These lights are:
- Easy and safe to install
- Safe to use in wet conditions
- Minimize the risk of shocks
- Energy efficient
Installing 12V landscape lighting is a straightforward project, you can do it if you have a little experience with the lighting. But if you want to install high-voltage landscape lighting such as 120V, don’t do it if you are not a professional. It is risky so you should hire a professional for this project.
How To Create a Plan For Landscape Lighting?
Proper planning is the crucial step in creating an effective outdoor lighting environment. Before installing landscape lighting, you will need an appropriate plan for where you should install landscape lighting and which lighting products are best for use.
We’ve done this for you in three simple steps. With the help of these, you can easily create a layout planning for the elegant lighting.
1. Assess Your Yard
The first step is to assess your yard carefully. At night, walk around your yard and identify the areas you want to illuminate such as walkways, gardens, entry points, or any other dark spot. Choose the best location that requires lighting to enhance the yard’s security and create a modern lighting ambiance.
2. Sketch a layout
Once you have decided where to add the outdoor lights, take a graph paper or digital tools to sketch the layout. Create a rough sketch of your property and mark the points where you’ve decided to add the light fixtures. Mark the lighting points at some distance to avoid lighting pollution or uneven lighting.
3. Choosing the Right Products
Now, it’s time to choose the right product for your lighting project. Low-voltage landscape lighting requires transformers, fixtures, lights, and suitable wires.
Choose the fixtures designed for an outdoor environment. In the previous step, you’ve marked the areas to add lights. So choose the right type of fixture that’s suitable for the location you want to glow.
LEDs are the best choice for outdoor lighting. They operate on low voltage and are highly energy efficient. Due to their longer lifespan, you don’t need any frequent replacement over time.
And the last one is to choose the right type of lighting cable. In landscape lighting, most of the time we bury the cables. So, choose the cables that are rated for direct burial to avoid the additional protection. And in low-voltage lighting, choose the cable that is rated for low-voltage.
Steps To Install 12V Landscape Lighting
Woking with low-voltage lighting is a simple and safe project. You can create a safe and aesthetic night environment for your children to play and enjoy the night.
You can easily install 12V landscape lighting with the basic skills. Here is an easy and reliable guide to enhance your outdoor environment.
Before starting, gather the necessary tools and materials that are required.
Tools and materials
- 12 Guage Lighting cable
- Transformer
- Lighting Fixtures
- Waterproof Connectors
- Wire Stripper
- Electrical Tape
Mark The Points And Position The Fixtures
According to your layout plan, highlight the area where you have decided to add the fixtures and the path to run the cables.
After marking the point position the fixtures at the desired location according to your sketch and wire them securely.
Run the Cables
Now according to the layout sketch, mark the complete path from the transformer to each fixture to run the cables.
Dig about 3-5 inches deep at the marked path of cables. Run the cables and cover them with soil.
You can run 12-guage lighting cable upto 150-200 feets without the voltage drop.
Connect the Transformer
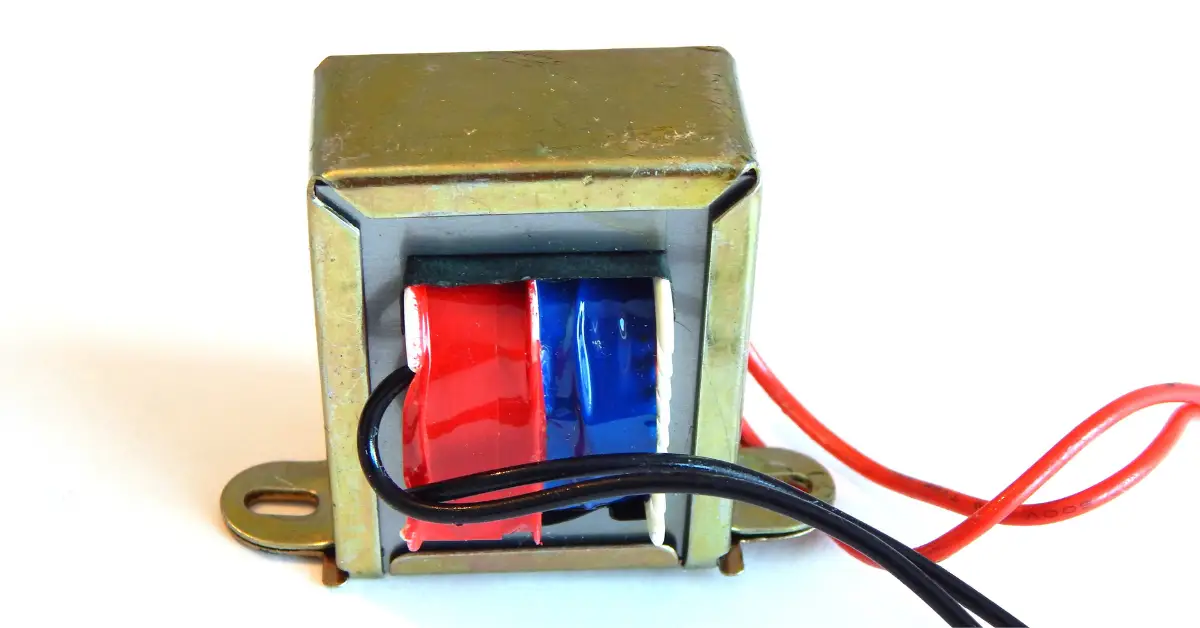 Now mount the transformer on the wall near the GFCI outlet. Strip the ends of the main low-voltage cable and connect them tightly to the terminals on the transformer.
Moreover, you can set timers on the transformers to turn the lights on and off automatically.
Wiring the Fixtures
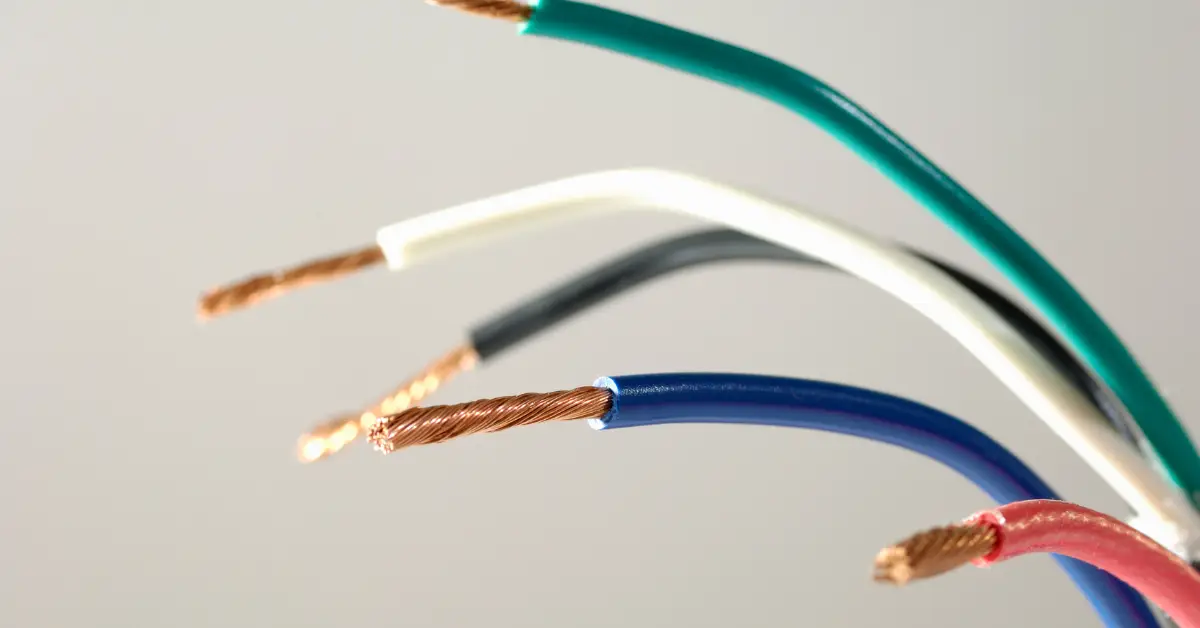 Connect the wire from the fixture with the main cable. Use wire strippers to strip the smaller insulation of the main wire where the lighting fixtures will be connected. Use the waterproof connectors and carefully splice the landscape wire. Use electrical tape for secure insulation.
Testing the System
Connect the transformer’s wire to the switch and turn on the power. Make sure that each lighting fixture works properly and is illuminated in the way you want. After the successful testing, carefully bury all the cables and adjust the lighting fixtures by securing them tightly.
If you find any dim or uneven lighting then check:
Voltage dropout: Check the voltage of each lighting fixture. It should be between 11-12V. If the voltage is below 11V then reduce the length of a cable and minimize the voltage drop.
Inspect connection: Inspect the connections carefully. The loose or poorly made connection also causes flickering or dim lights.
Top Mistakes in 12V Lighting Installation
While working with electricity, even a small mistake can prove to be very serious. Sometimes we work carelessly, and we don’t realize what mistakes we are making.
Here are some common mistakes that anyone can make due to carelessness. While installing lights, you need to keep them in mind.
1. Overloading the Transformer
Sometimes, the total wattage of all fixtures exceeds the limit of the transformer or we connect too many fixtures with one transformer that fails the entire system. If you want to add up more fixtures but their wattage is more than the transformer’s capacity, use the multiple transformers for better performance.
2. Poor Fixture Placement
While testing the lighting system, if you find any uneven lighting, change the angle of the fixture to achieve the desired lighting effect.
3. Neglecting Maintenance
Inspect the connections and wires regularly. If you find any damage, repair or replace it immediately.
Conclusion
12V landscape lighting easiest and most energy-efficient way to light up outdoor spaces. With proper planning and guidance, you can avoid common mistakes and enhance the exterior effectively.